How to Migrate a WordPress Site: 4 Methods (Step by Step)

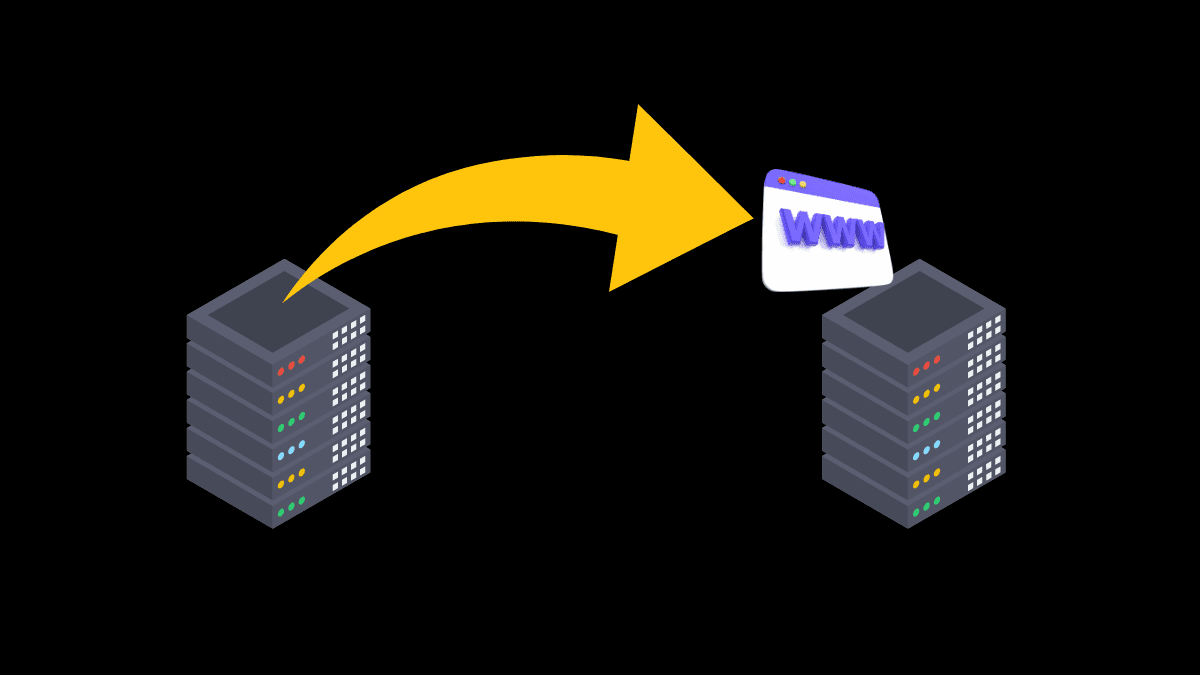
This guide shows you how to migrate a WordPress site to a new host without losing content, breaking links or hurting your search rankings. Whether you are leaving a free host that is shutting down, upgrading to a faster plan or consolidating several sites in one place, the process is always the same: back up, copy, test, then switch your domain. Below you will find four methods, from the easiest to the most hands-on, so you can pick the one that matches your skills.
Updated November 2026
Which migration method should you choose?
- Method 1: let your new host do it. Easiest, and often free. Best if your new provider offers a migration service.
- Method 2: use a migration plugin. Easy for beginners and works with almost any host.
- Method 3: migrate manually with FTP and phpMyAdmin. More work, but gives you full control and no plugin size limits.
- Method 4: use cPanel’s backup tools. A good middle ground if both hosts use cPanel.
Before you start: the pre-migration checklist
A few minutes of preparation prevent most migration problems:
- Make a full backup of your files and your database, and keep a copy on your computer and one in cloud storage.
- Check that the new host is compatible. It should run a currently supported PHP version and a recent MySQL or MariaDB release. The official WordPress requirements page lists the minimums.
- Keep your old hosting active until the move is finished and tested.
- Lower your DNS TTL (for example to 300 seconds) a day or two before switching, so the change spreads faster.
- Clean up. Delete unused plugins, themes and media. A lighter site is faster to move.
- Pause changes. Do not publish posts or accept orders while you copy the site, and deactivate caching plugins so they do not store old versions of your pages.
Don’t have a host picked out yet? Compare options in our guides on the best WordPress hosting and how to choose a web hosting provider.
Method 1: Use your new host’s free migration service
Difficulty: easy
Many hosting companies will move your WordPress site for you at no extra cost, usually through a request form in the control panel. Hostinger is one example, and several other providers in our best shared hosting ranking offer similar services. The details vary, but the flow is generally the same:
- Sign up for a plan and open the migration or “transfer site” option in your dashboard.
- Enter your domain and either give the team a WordPress admin login or upload your backup files (a .zip of your site and a .sql database export).
- Wait for the migration to finish. Depending on the provider and the size of your site, this can take from a few hours to about two days.
- Preview the copy, then point your domain to the new host.
Tip: before you request the migration, temporarily turn off two-factor authentication and any security or anti-bot plugin that could block the migration tool, and make sure you have enough disk space on the old server to generate a backup. Do not change your DNS settings until the host confirms the copy is complete.
Method 2: Migrate with a plugin
Difficulty: easy to moderate
Migration plugins package your files and database into one archive that you import on the new site. Two popular choices are All-in-One WP Migration and Duplicator. Here is how it works with All-in-One WP Migration:
- On your old site, install and activate the plugin.
- Go to All-in-One WP Migration → Export, choose Export to → File and download the archive when it is ready.
- On your new host, install a fresh copy of WordPress and install the same plugin.
- Go to All-in-One WP Migration → Import and upload the archive.
- When the import finishes, log in again (use the username and password from your old site) and go to Settings → Permalinks. Click Save Changes without editing anything, which rebuilds the rewrite rules.
If the upload fails: large archives can hit upload limits on the new server. Ask your host to raise the PHP upload limit, or upload the archive directly to the plugin’s backup folder (wp-content/ai1wm-backups) over FTP, then restore it from the plugin’s Backups screen. The free version of any plugin may also cap the size of the archive it can import, so check the current limits before you begin.
Method 3: Migrate manually with FTP and phpMyAdmin
Difficulty: advanced
The manual route works on any host and has no size limits. A WordPress site is made of two things, files and a database, so you copy both.
- Export the database. On the old host, open phpMyAdmin, select your WordPress database, click Export and save it in SQL format.
- Download the files. Using an FTP client such as FileZilla or the host’s file manager, download everything in your site’s root folder, including
wp-content(themes, plugins and uploads) andwp-config.php. - Create a new database. On the new host, create an empty database and a database user, and write down the database name, username and password.
- Import the database. Open phpMyAdmin for the new database, choose Import and upload your SQL file.
- Upload the files to the new site’s web root (often
public_html). - Edit wp-config.php. Replace the
DB_NAME,DB_USERandDB_PASSWORDvalues with the new ones. Some hosts also use a database server name other thanlocalhost, so checkDB_HOSTin your new host’s documentation. - Changing your domain name? Update the
siteurlandhomevalues in thewp_optionstable, and replace the old URL throughout your content. A tool such as WP-CLI’ssearch-replacecommand handles serialized data safely, which a plain text find-and-replace does not.
The WordPress developer handbook has a detailed reference page on moving WordPress if you want to go deeper.
Method 4: Use cPanel’s backup tools
Difficulty: moderate
If your old host uses cPanel, its Backup tool lets you download a copy of your home directory and of each MySQL database separately. From there, the process mirrors Method 3: restore or upload the files on the new host, create a database, import the downloaded database backup and update wp-config.php.
Keep in mind that a full cPanel backup includes extras such as email accounts and forwarders, and not every host lets customers restore a full backup by themselves. If restoring is blocked, upload the files and import the database manually, or ask the new host’s support team to restore the backup for you.
Test the new site before you switch your domain
You can preview the copy on the new server before pointing your domain to it, either with a temporary URL from your host or by editing the hosts file on your computer so your domain resolves to the new server’s IP address. Check the following:
- Home page, posts, pages, menus and images load correctly.
- You can log in to the dashboard, and your permalinks work.
- Forms send email, and checkout or login flows work if you run a store or membership site.
- Plugins and theme settings match the old site.
WordPress files do not include your email accounts. If you use email addresses on your domain, set them up again on the new host (or move them to a dedicated email service) before you change DNS.
Point your domain to the new host
When the copy passes your tests, update your domain’s DNS at your registrar: either change the nameservers to the ones your new host gave you, or update the A record to the new server’s IP address. DNS changes can take anywhere from a few minutes to 48 hours to reach everyone, so keep the old hosting active for at least a week or two. After the switch, install or confirm your SSL certificate and re-enable your caching plugin.
Migrating from a free host that is shutting down
Free hosts often have tighter limits than paid ones, with smaller upload sizes, no SSH access and sometimes no built-in backup tool, so the plugin method or a manual FTP and phpMyAdmin copy usually works best. If your old host has already closed and you have no backup, you may only be able to recover what you saved elsewhere. The WordPress export tool (Tools → Export) saves your posts, pages and comments but not your theme or plugin files, and it only references media rather than copying the files themselves.
Still choosing where to move? See our roundup of 000webhost alternatives for free and low-cost options.
Common migration problems and how to fix them
- “Error establishing a database connection”: the database name, username, password or host in
wp-config.phpis wrong. - Posts return a 404 error: go to Settings → Permalinks and click Save Changes.
- Broken images or mixed-content warnings: your content still points to the old URL or to http instead of https. Run a search-and-replace on the database.
- Blank white screen: usually a PHP version mismatch, a memory limit that is too low or a plugin that is incompatible with the new server.
- Cannot log in: clear your browser cookies and check that the site URL settings match the address you are using.
Frequently asked questions
How long does it take to migrate a WordPress site?
The copy itself can take from a few minutes to a few hours, depending on the size of your site. A migration handled by your host may take up to about two days, and DNS changes can add up to 48 hours.
Will migrating hurt my SEO?
Not if your domain and URLs stay the same and the site is not offline for long. Test everything before switching DNS, keep your permalink structure unchanged and check for new 404 errors afterwards.
Can I migrate WordPress for free?
Yes. Plugins such as All-in-One WP Migration and Duplicator have free versions, many hosts offer free migrations, and the manual method costs nothing but your time.
Can I migrate a site from WordPress.com?
Yes, but WordPress.com is a different platform from the self-hosted WordPress.org software, so the steps above do not apply directly. Use the export and import tools described in WordPress.com’s support documentation.
Should I use a plugin or migrate manually?
For most small and medium sites, a plugin is the quickest option. Choose the manual method if your site is very large, if the plugin keeps failing, or if you want full control.
Conclusion
Moving a WordPress site is not difficult when you follow a clear order: back up everything, copy your files and database, test the copy and only then switch your domain. Pick the method that fits your experience, and keep the old hosting running until you are sure everything works. If you are starting from scratch instead, read our guide on how to create a WordPress website.